What is DTG Printing (or” Direct to Garment Printing”)

Hey guys

Bigwilly here again with another behind the scenes from the world of T shirt printing!

Ah the super secretive arts we practice!

So some people have been asking us about other methods of printing their tees. There are a heap of different methods, but some (Perhaps those who don’t like to get their hands too dirty :P) have been asking us about DTG prints, otherwise known as DTG.

What is DTG Printing?

Dtg printing is a method employed to print digital image quality prints onto garments.

Like all different techniques there are pros and cons. DTG is awesome for white t shirts, pretty meh for black tees. (Disclaimer: a good professional dtg printings machine from a company will be much more successful than a print from your own $50 machine like the one below!)

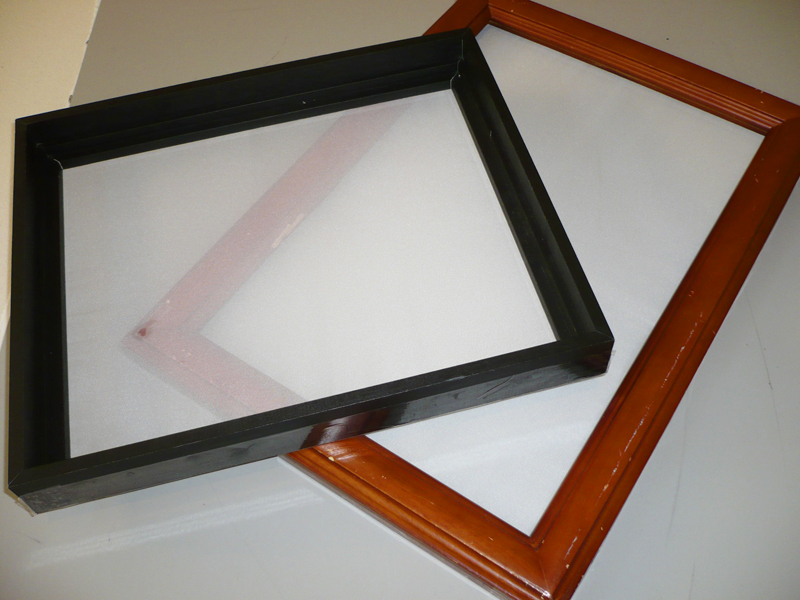
As you can see, there is less mess, and you can print directly onto the garment.

With a white tee, its as simple as choosing your design and setting it up and hitting print. You do have to dry the print s afterwards like all designs-we recommend just leaving them to air dry if you haven’t done this before as you may make a mess and smudge the design.

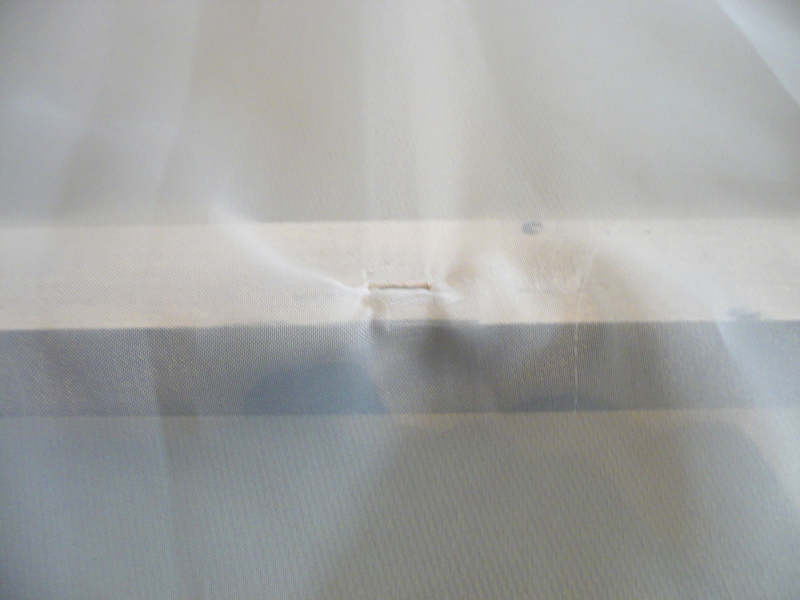
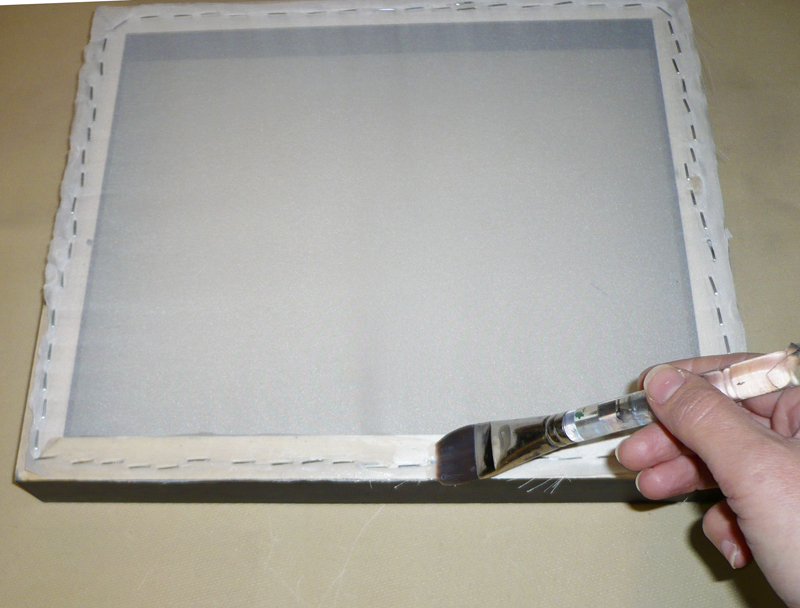
With a black tee, you need to basecoat the print 1st, and also pre treat the shirt with chemicals to get the print to stick…

Not only that, a cheap print will peel off. (This is why we recommend professional print companies if your going to be printing to sell you gear!

So lets break it down into the science!

Unless your dropping serious cash on a printer, the resoloution will tend to be much lower than a professional setup. The printers are driven by raster image software, which converts the file into a colourscheme that the printer will understand.

You can get crazy quality prints with this technology.

direct to garment example

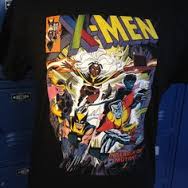
example of a dtg print-see the multitude of colours-this would be a nightmare to screen print!

dtg comparisons

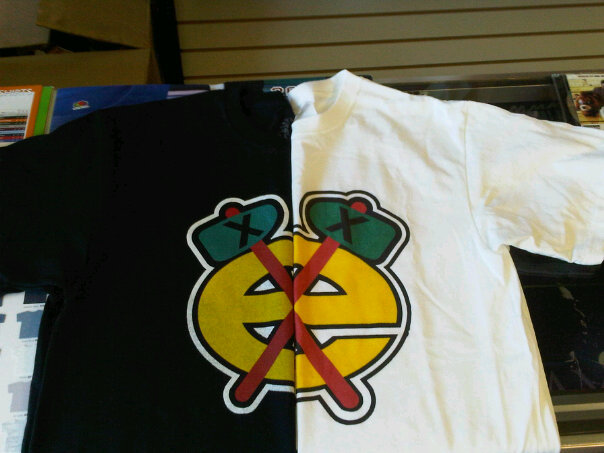
Here you can see the same dtg graphic on a white tee and a black tee

Just by looking at the example above, you can see the immediate differences between printing on black or white with direct to garment techniques!


The main, number 1 awesome benefit of dtg is this- you can print awesome 1 off designs. You can literally set up for 1 tee and get it made there and then in 15 minutes!

So instead of printing all your stock up front, you can print it to order as customers order it! For startup businesses or for small brands growing from home, this is an incredibly good method.

BUT

Its not as cheap as say screen printing. The 1 design will cost you much more, even if dont at volume than if you were to screen print.

But to make the most of dtg, you should be printing designs that screens simply cant print with!

There is of course sublimation printing on white polyester tees, but thats a subject for another article!….

According to wikipedia, all dtg printers are next generation descendants of the original inkjet printers-crazy eh! its the matrix/skynet happening before our eyes!

For your own cheap digital print tees you can make these at home pretty easy, but like we say if you want amazing quality custom tees, we recommend hitting up a company like these guys here

How to make your own screen (To print your own!)

Hey guys,


In today’s post I want to discuss how to create your own screens to print from home!

Now bear in mind, it may be easier to go to a professional screen printers, if you intend to do large quantities to sell to Teespring etc (Or just to make major bank!)

But this guide is tailored to those guys who are just getting started or want to make their own!

What we will need to go forward

A large picture frame-minus the glass of course! You can pick these up cheaper sometimes buying them with art in, then just the frame! Crazyness

Head to a dollar store and get a picture of a landscape or 3 wolf howl and take that bad boy out so you can use the frame!

Some good scissors-actually let us refrain that, scissors good enough to cut the material, but not so great you don’t mind wrecking them a little. Perhaps ask your mom for her garden clippers?

Solvent resistant sticky tape for holding the screen in place. When we clean it, we dont want it to degrade and break down, so solvent proof is the go here!

A badass staple gun. We need this to hold the screen to the frame, try and borrow one from a buddy who works at a store maybe for 5 minutes. We want to make an awesome frame for your amazing t shirt printing, so we need it to stay in place gang!

And finally some solvent resistant polyester cloth to use as screen! You can pick this up from most department stores-Make sure you buy enough to perhaps make a few screens! and also to leave enough material to make a 3 inch overhang. We need enough overhang to be able to attach the cloth to the frame with the staples and finally tape…


Stage 1

Either build your frame, or use an old wooden photo frame and remove the glass. This gives us a nice area to print from!

Photo frame repurposed for screen print

Photo frame repurposed for screen print

Make sure the surface to attach your screen doesn’t have nails etc sticking out. We need to be able to attach the screen and make it nice and tight-anything that might snag and tear will not be the best!

Sand it down, what ever you need to do, cutting corners here will mean more work in the long run!

Stage 2

Adding the cloth to the screen.

what we will use for our screen-see the fine mesh? that allows the paint to flow through!

what we will use for our screen-see the fine mesh? that allows the paint to flow through!

Lay the cloth across the frame and ensure to have some overhang!

Lay the cloth across the frame and ensure to have some overhang!


What we want is the cloth to lay smooth across the frame. We need it to be tight so that when we apply pressure with out squeedgee and paint, it will stay in place!

SUPER IMPORTANT TO STAY TIGHT YO!

When we are attaching the cloth, start with 1 side, then move across-PULL TIGHT-and staple the opposite side!

Continue to pull the cloth tight like this in each area, so that the screen will be able to handle the 1 million awesome tshirts that you will be making!

Make sure to pull the cloth tight and dont be shy with using mulitple staples!

Make sure to pull the cloth tight and dont be shy with using mulitple staples!

Once the cloth is attached and cut tosize-use emulsion to stick the cloth to the screen-careful not to get any on the screen itself as will transfer marks across!

Once the cloth is attached and cut to size-use emulsion to stick the cloth to the screen-careful not to get any on the screen itself as will transfer marks across!


Stage 3

Here we want to tidy up a few things.

First off we trim the excess cloth down on the frame. This will stop the screen from flicking around paint etc or any dirt onto our print! Tidyness, in this instance, pays off!

After that we use a matte varnish emulsion to hold the cloth to the frame, and also prevent water etc going into the frame/staples and messing them up!

Make sure to cover the entire frame that touches the cloth, but dont get any on the cloth in the middle or your work will be for nothing

WARNING:

If you get the emulsion on the main screen section, then it will transfer marks over to your design-BIG NO NO!

Finally, to hold that screen definately down, use some of that solvent resistant tape we mentioned earlier!

You are now ready to get to work with using that print!


Check out our upcoming guide, of how to create the design, and how to print your own tee!

Make sure its down nice and tight, and make it look tidy so you can show people how proud you are!

Make sure its down nice and tight, and make it look tidy so you can show people how proud you are!


These guys actually do a pretty good video of it here, which we have embedded below for you!

What is Screen Printing?

Ah screen prints-the ancient mystical art of getting ink on clothing…..but making it look awesome

Now we could go off for hours here about the the history of this kung fu art, but we’re not wikipedia. In fact the article for the wiki is here

We warn you now tho its many many pages!……..

Instead lets break it down for you guys

In the Beginning

Legend tells of a man in 1910 eating his dinner. By accident he spilt his drink on it and it looked awesome, and was intrigued to replicate the effects…(All lies)

Screen printing or silk screen printing as it sometimes known, is the art of producing an image on a mesh woven fabric, creating a design stencil on the fabric, and then applying paint to the fabric(Via a squeedgee)  to leave a pattern underneath….

It originated in this way back in 1910, but was used for stencil art back in 960 ad china! Damn china did everything first eh!


The stencil creation now is created almost the same way a photograph is developed. The chemical on the screen reacts and develops in light much like a photo reactive film.

A couple of dudes were playing around with it in 1910, and it later coined the term Seriography from the greek silk (sericum) and to draw or write.

So how does it work?

By coating the screen in the chemical, a 2nd template is placed on top. When the screen is exposed to light, anything not covered by the template is removed, leaving behind the desired pattern or design. This process is known as photo emulsion, and the best thing about it is you can put your stencil design on via a simple printer or phot

screen printing easy guide

Here you can see the pre design screen, the screen its applied to , the frame and ink

The screen is then attached to a frame, taped off to stop any further spillage or spreading of paint/ink, and held in place. This ensure s that when pressure is applied via the squeedgee, we keep the design in place and get equal pressure on the screen.

We force the ink through the gaps in the screen to leave behind our image on the tee/garment/all that jazz.


Overly simplified but the easiest way to get the message across!

Due to the limitations of application (ie we have 1 set pattern on a screen) we must use mulitple screens to represent the multiple colours or design aspects.


Below you can see a standard machine set up to print multiple colours-this is a standard machine ie non automated, and so is limited by its volume of production.

Still awesome if your just starting up-you can even do great stuff with 1 screen and patience!

Once the design has been printed on, it needs to dry before a new colour can be added.

Automated machines will often have this feature built in (At least to an extent) so that the 2nd colour can then be added.

Why choose screen printing?

Simply put, its generally easier to use than other techniques, hence why its been around for 104 years so far!

Its not just t shirts-or even clothes! You would be suprised at the amount of things that are screen printed in daily life! (Even your snowboard graphics!)

Screen printing is not just limited therefore to a garment limited sized process.

By introducing a roller, with the pattern attached, you can do huge lengths of material for perhaps curtains etc


Check out our upcoming articles for:

  • How to make your Own Screen to print on, and
  • Our favourite screen print examples and all that jazz